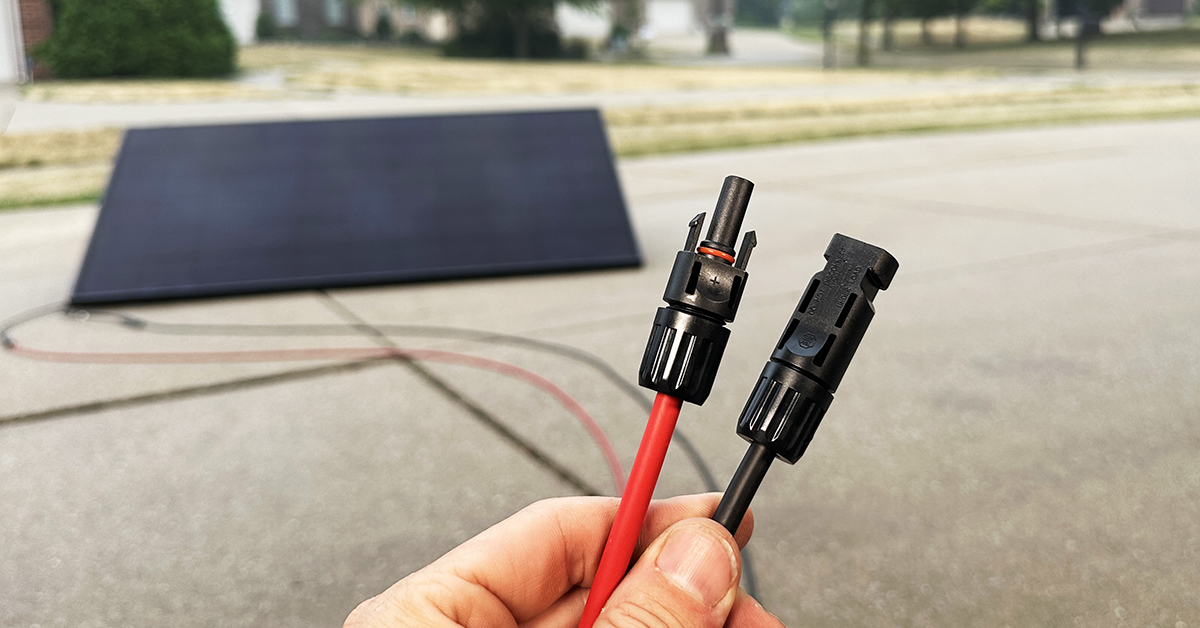
Hey there, it’s Scott from Everyday Solar, and I’m going to walk you through a straightforward project: installing MC4 connectors on your solar cabling. Whether you’re setting up a DIY solar system, working on an RV solar setup, an off-grid solar project, or just want to repair a damaged connector, this easy step-by-step guide is for you.
Rather watch than read? Check out our 7-minute video below.
Tools Needed
Before we dive in, let’s gather the tools you’ll need. I’m using a reasonably priced iCrimp kit from Amazon. Here’s what the kit includes:
- Four sets of MC4 connectors
- Shears
- Crimpers
- Two spanners
You’ll also find the cabling I’m using for this project on our Amazon store.

Step 1: Prepare the Cables
Start by using the shears to strip back the insulation on your cabling. If you’re not comfortable using shears, you can use wire strippers that match the cable gauge. In this case, I’m using 10-gauge cabling, so I’ll strip off about three-quarters of an inch of insulation, exposing the stranded wires.
After stripping, give the exposed wires a light twist to ensure none of the strands fray during crimping.

Step 2: Assemble the MC4 Connectors
Now that your cables are ready, it’s time to assemble the MC4 connectors. We’ll start with the red cable (positive), and match it with the female metal contact. Please note that the“male” and “female” connectors refer to the metal contacts within the plastic housing. The socket is on the female side, and the pin is on the male side.
Check your crimper to ensure it’s set for your cable gauge. I’m using 10-gauge wire, so I’ll use the 10-gauge setting. Crimp the connectors using these steps:
- Retract the crimper jaws and place the connector inside.
- Press down slightly, but don’t fully press it down yet.
- Introduce the wire on the other side of the connector, ensuring none of the strands fray off.
- Crimp the connector, creating a secure connection as it folds over the two pieces.
- Once fully crimped, the crimper’s jaws will release.
- Pull the connector to ensure the connection is secure and you have a solid crimp.

Step 3: Complete the MC4 Connector Assembly
Now, let’s add the plastic housing to finish assembling the connector:
- Once you have the socket on, unscrew the cap.
- Place the cap on the cable first.
- Slide the rubber grommet over the cable, ensuring it goes over the insulation.
- Place the plastic housing over the connector and make sure it’s fully seated (you should hear a click).
- Thread the cap onto the plastic housing.

Step 4: Tighten the Connector
Place the spanners over the screw side and match the slot onto the other end to do your final tightening. This will compress the grommet, creating a weather-tight seal around the cable. This is crucial for ensuring the longevity of your solar connectors.

Step 5: Assemble the Male End
Now that your female end is complete, follow the same steps above to assemble the male end.

Releasing the Cables
The spanners also double as release tools, making it easy to disconnect the connectors when needed.

Conclusion
There you have it! We’ve completed our easy DIY installation of MC4 connectors. Let’s do a quick recap of the steps:
- Begin by preparing your solar cables, stripping the insulation and giving the exposed wires a light twist to prevent fraying.
- Assemble the male and female MC4 connectors, ensuring you match the correct metal contacts to your cable.
- Use the crimping tool to secure the connector to the cable. Perform a pull test to ensure a solid connection.
- Complete the connector assembly by adding the cap and rubber grommet to provide weather protection.
- Use the spanners to tighten and ensure a secure connection, compressing the grommet for a weather-tight seal.
If you’re considering a solar setup for your home, we’re here to help you save time and money by guiding you to the right solar system for your needs. Click here to calculate the solar panel cost for your home.
You can also watch our video on the four main ways to pay for solar panels, where we’ll share our preferences and advice on what to avoid.

